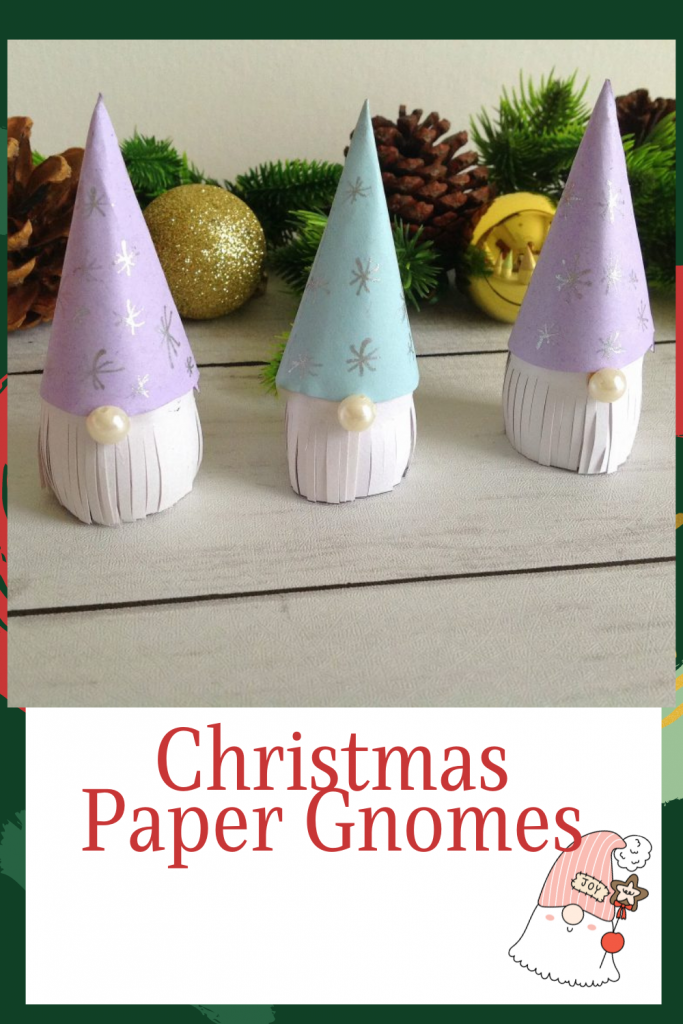
This post is going to teach you how to make paper gnomes for Christmas! They are so easy to make and are absolutely adorable! Who doesn’t love a cute gnome, right?
Paper gnomes made out of paper are an excellent craft for all ages. With just a few materials, you can create your very own team of festive decorators to bring some holiday cheer to unexpected places.
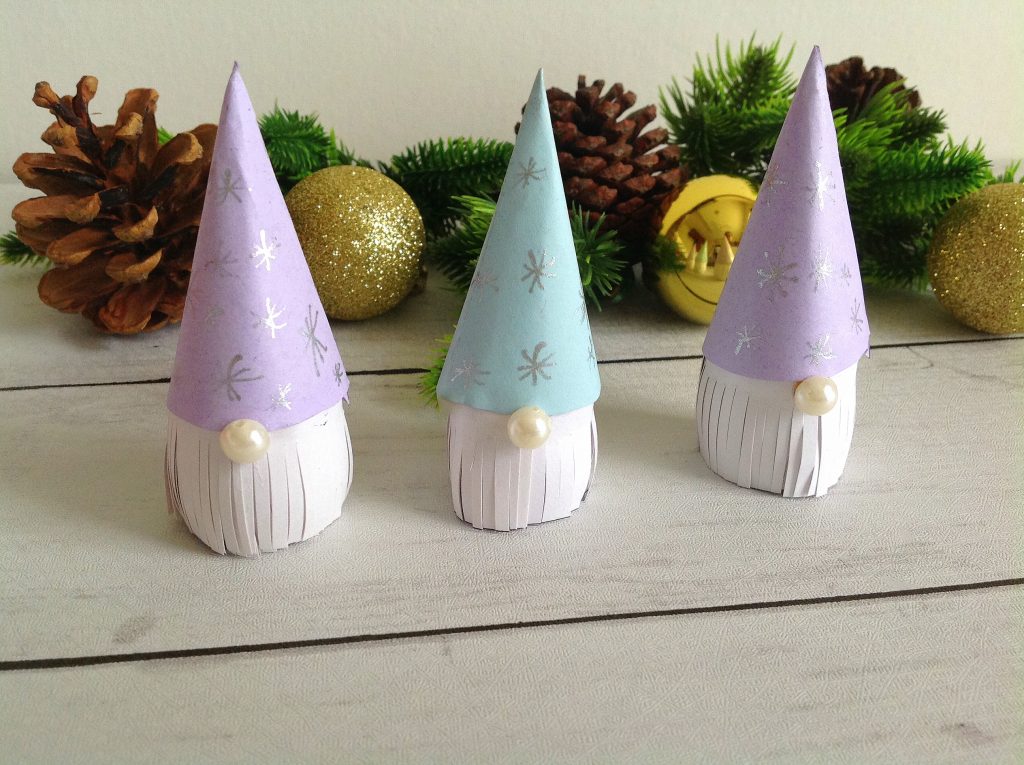
How to Make Paper Gnomes For Christmas
For this holiday season, follow these simple instructions and turn ordinary paper into whimsical little gnomes to share with family and friends!
The Paper Gnome Craft is a unique, step-by-step tutorial on how to make paper Christmas gnomes. We explain everything in detail and provide you with all the necessary materials so that your little Christmas gnomes turn out perfect every time! Let’s get started!
Paper Gnomes For Christmas
Paper gnomes are adorable Christmas decorations that bring instant joy to people of all ages. These easy-to-make holiday helpers are fun, inexpensive, and will add a whimsical touch when placed around your home!
- Cardstock in two desired colors for the gnome body and hat- 1 sheet each ( you can make a number of them with this)
- White cardstock for the beard
- Pearl beads for the nose
- Glue Stick (or you may use any glue you like)
- Hot glue gun (optional, but effective)
- Glitter pen
- Scissors
- Marking Pen
Instructions for the Gnome Hat
- Use a circular lid of approximately 14cm in diameter to cut a circle from the card stock for the hat.
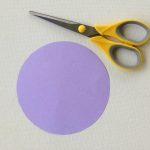
- Fold it in half to get a semicircle. Fold it again in quarters.
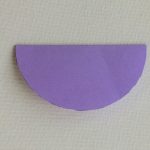
- Cut a quarter of the circle along the crease formed.
- Mark 0.5cm from one of the straight edges by a straight line and cut off the corners.
- Fold along the marked line and apply glue along the fold.
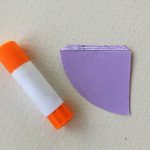
- Fold the other straight edge over and glue it to form a cone. This is your gnome hat.
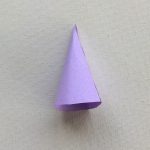
Instructions for the Gnome Body
- Cut a rectangular piece 8cm long and 2.5cm wide. Mark a line 0.5cm from one of the short edges to apply the glue.
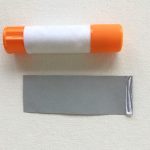
- Apply the glue on the marked edge. Fold the other short edge over and glue it to form the gnome body.
Instructions for the gnome Beard
- Cut a rectangular piece, 21cm long and 3cm wide from the white cardstock. Here again mark a line 0.5cm from one of the long edges.
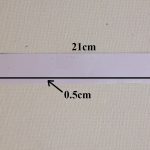
- Cut 0.5cm wide fringes along the entire piece, leaving the marked upper edge intact.
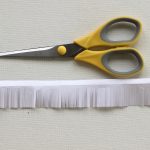
- Use your pen to curl the fringes inwards
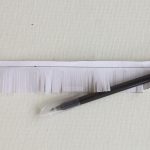
- Take the gnome body and apply glue along the upper edge of the beard. Starting with one end of the beard, wrap it around the gnome body a few times till you reach the other end of the beard.
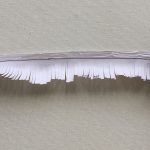
- Your gnome body with the beard will look like this. Apply glue along the upper edge to attach the hat.
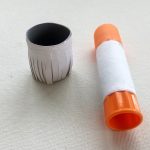
- Place the hat firmly above it to secure.
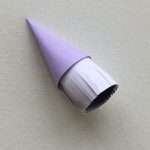
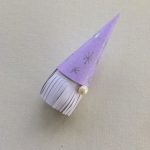
- Glue the bead just under the hat using your glue gun and your paper gnome is ready!
Shopping For Supplies!
*This includes my affiliate links
Here is the shopping list to buy all the supplies you will need to make your very own Gnomes For Christmas!
- White Cardstock
- Colored cardstock (two different colors)
- Pearl Beads
- Glue Stick
- Hot Glue Gun
- Glitter Pen
- Scissors
- Marking Pen
Let me know if you decide to make these adorable DIY Paper Christmas Gnomes! I would love to hear how they turned out!
If you are looking for more Christmas crafts to make:
*Reverse Canvas Tassel Tree Sign
*Dollar Tree Let It Snow Tiered Tray Decoration
PIN IT
These are adorable! Thanks for sharing with step by step instructions!
Thank you for sharing this craft! So cute and simple. I’m going to bring supplies to Thanksgiving so the my nieces and nephews can make my mom/Grammy some gnomes.
My great niece (6) Zay loves Gnomes!! She has all shapes and sizes and always wants more. These would be perfect for her to make (with help) for Christmas. I have ever thing BUT the colored card stock and the glitter pens. Have to do some shopping
I love these gnomes. A definite on my ‘to do’ list.
Thank you for all the great ideas and recipes